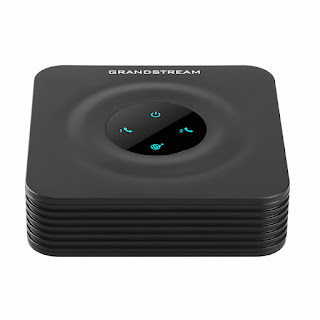
Grandstream make a range of Analogue Telephone Adapters that allow you to use a traditional Analogue phone with VoIP / SIP. They're also one of the few models that support Pulse or Loop Disconnect dialling, which makes them ideal for use with old rotary phones.
The HT802 supports "inter-port" dialling by using ***70X where X is the port number you wish to dial, which means you can call between the attached phones without requiring a SIP server or internet connection, but old phones don't have a method of dialling an *, you hear an IVR menu kick in, and the number isn't very authentic. So with a bit of experimentation I've figured out how to use direct IP calling to make internal calls between ports, with fully customisable numbers.
This is tried and tested on the HT802, but likely works on the other multi-port ATAs like the HT812 and HT814.
This isn't a complete guide covering how to setup your Grandstream ATA from scratch, so it's assumed you've already got the basics configured. If you haven't already got the UK progress tones added there's an excellent post from WelshPaul documenting how to get it sounding like a proper UK landline.
Static IP Address
If you wish to use the ATA standalone without a network connection
you'll have to set a static IP. I'm guessing there's an issue with the
network stack that prevents direct IP dialling working without an IP
(Despite using the 127.0.0.1 loopback address) but setting a static IP
seems to resolve the issue.
Login to your ATAs GUI and click "Basic Settings" at the top. About midway down on the page there's a section called "Internet Protocol". It should look something like this:
Make sure you chose an IP address within your LANs subnet, but outside of the range of IPs issued via DHCP.
Dial Plan
Next you can start to setup the dial plan to translate a dialled number to a local port. Before you do so you need to know the actual UDP port each line is listening on. On the HT802, Port 1 is 5060 and Port 2 is 5062. To double check, navigate to the FXS port in question in the GUI and about one quarter of the way down the page you'll find the "Local SIP Port"
Now you know the port, you can generate the new section for the dialplan. The following string will translate the digits 201 to *47127*0*0*1*5062 which dials *47 (The feature code for direct IP dialling) followed by 127*0*0*1*5062 - The IP 127.0.0.1 and port 5062
<201=*47127*0*0*1*5062>
Assuming you're in the UK the complete dial plan should look something like this:
With the above dialplan string configured for FXS Port1, you can dial 201 to call Port2. To call from Port2 to Port1 by dialling 200 you'll need to edit the string, remembering to update the port:
<200=*47127*0*0*1*5060>
You can also have multiple rules to support dialling multiple numbers for the same port, e.g:
{ <201=*47127*0*0*1*5062> | <01184960201=*47127*0*0*1*5062> | <4960201=*47127*0*0*1*5062> | etc }
Auto Dial
*47127*0*0*1*5062
Summary
Hopefully the above instructions should help you get setup with custom numbers for inter-port dialling. The HT802 is powered with a micro USB port, so with the addition of a power bank you should be able to create a portable "exchange" for demonstrating and testing phones or making them ring for film, theatre or an art installation.


